We'll help you set up Direct Connect for QuickBooks on your Mac computer.
If your CPB account was connected to your QuickBooks program before 12/9/22, you’re using Web Connect (WC). The following steps will guide you through the process of switching to Direct Connect (DC). If you’re connecting your CPB account(s) to QuickBooks for the first time, please skip to Online Banking Setup.
Have questions about the differences between Web and Direct Connect? Check out our FAQ.
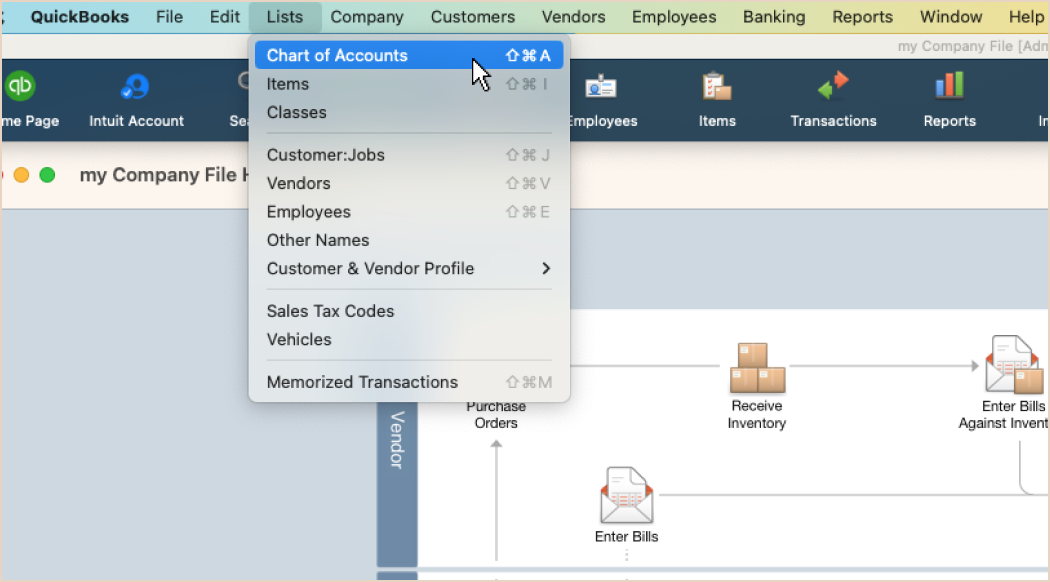
Go to Lists in the top menu, then Chart of Accounts.
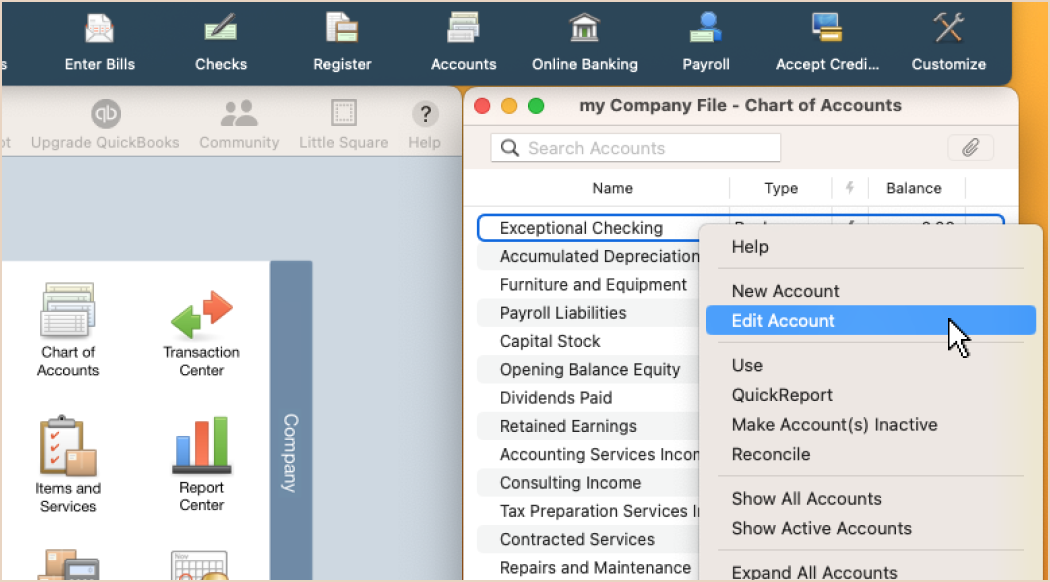
Right-click the account you want to deactivate, then choose Edit Account.
Click on the Online Settings button. Use the menu for Downloaded Transactions and change from "via Web Connect" to "Not enabled." Press Save.

You might get a warning that disabling will cancel pending transactions. Click OK to return to Edit Account click OK again to return to your Chart of Accounts.

Go to Banking > Online Baking Setup, and search for "Central Pacific Bank." Choose DC and press Next.

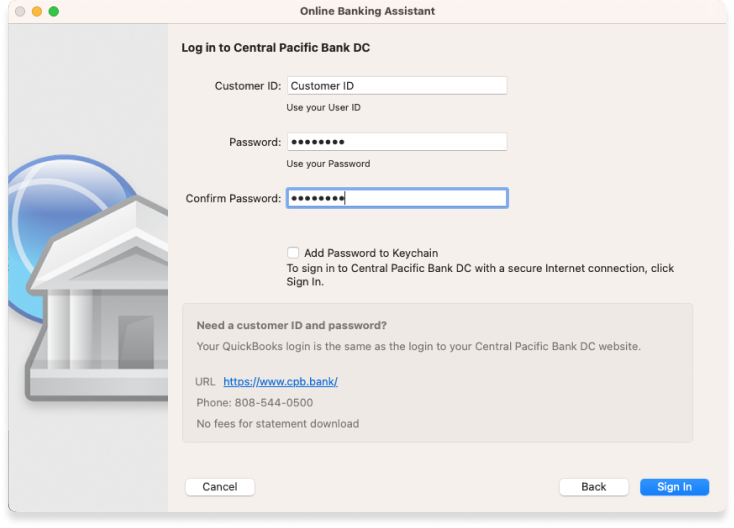
Make sure "Yes" is selected and press Next. Enter your CPB Online Banking credentials and click Sign On.

You may see an error, but don't worry; this is expected if you have never set up Direct Connect before. Let's help you fix that. Log in to your Online Banking and navigate to Profile > Connected Apps.
You'll see QuickBooks is awaiting authorization. Click the check box and then Authorize, and you should see the application under Connected Apps. You're ready to go.

Go back to your QuickBooks and press Sign In again. It should connect to your accounts now.
It's very important to complete this next step carefully, so you don't get missing or duplicated transactions. After your accounts load, map each one to an existing account in your QuickBooks by using the "Select an account" menu. Click Next when finished.
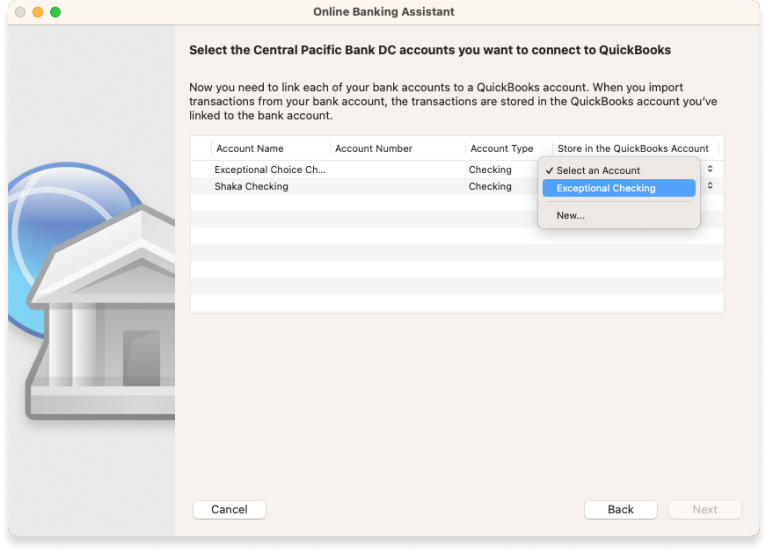
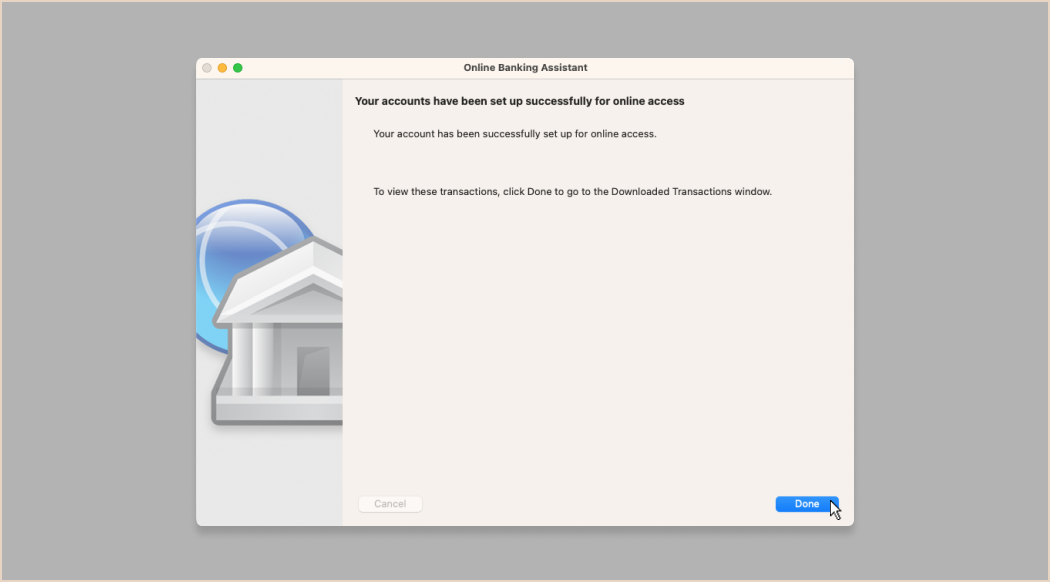
After you get confirmation, click Done. Congratulations, you're all set to use Direct Connect!
